install
Installation Website
Visual Studio Code
A text editor is a simple notepad type application. For the DRI, we will be using the VSCode text editor because it supports syntax highlighting, is free and open source, and is consistent across OSX, Windows, and Linux systems.
Install
Download VSCode at https://code.visualstudio.com/
Windows
- Click on the VScode installer in your downloads folder:
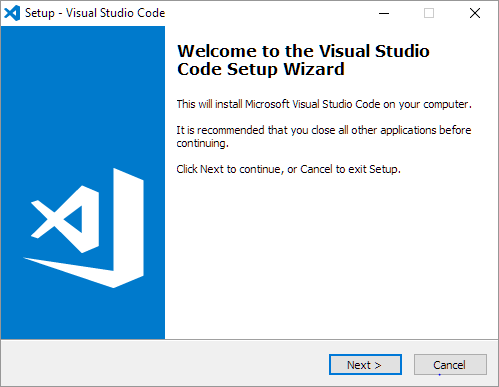
- When you see this window, click
Next:
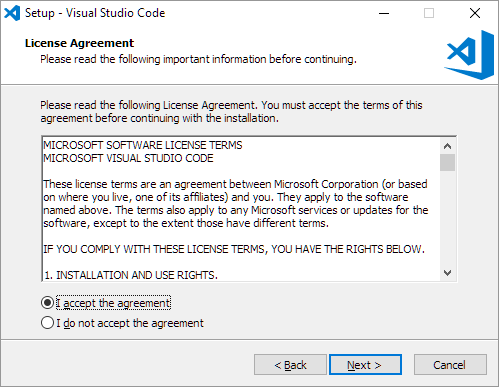
- Accept the license agreement by selecting the first radio button. Then click
next
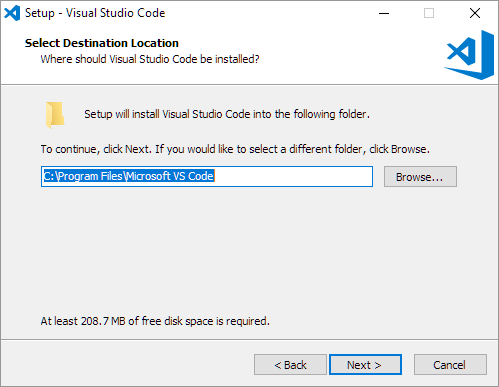
- Choose the folder on the computer that VSCode should be installed in (the default is usually fine). Then click
Next:
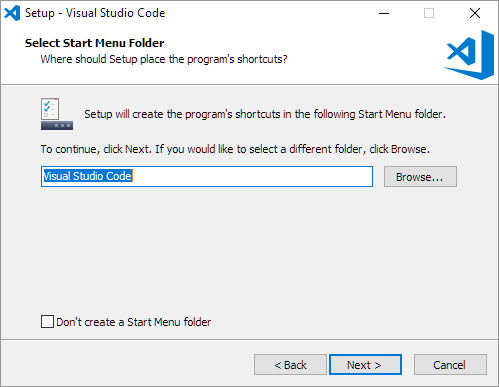
4b. Windows only: Choose the folder in the start menu that VSCode should be installed in. Then click Next:
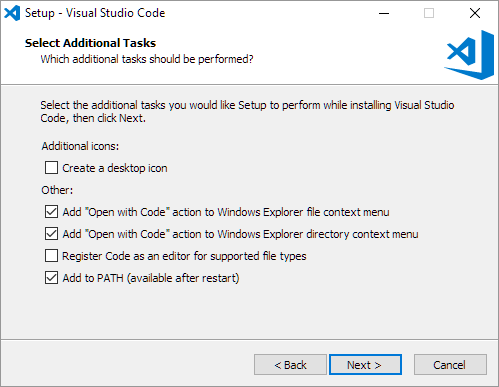
4c. Windows only: Please check the box that says Add to PATH, which is the fifth (last) box. Check the other boxes at your own discretion. Then click Next:
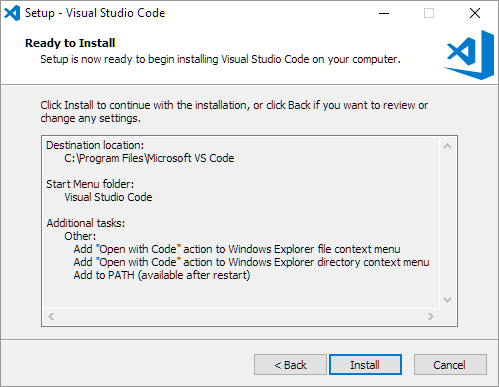
- You should see a window listing the configurations you chose in the previous steps. If they are incorrect, click
Backand redo the previous steps. If they are correct, clickInstall:
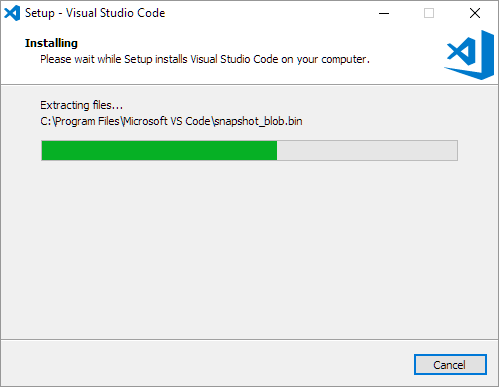
- Sit back and relax because the install will take a while. You should see a window with a progress bar similar to this:
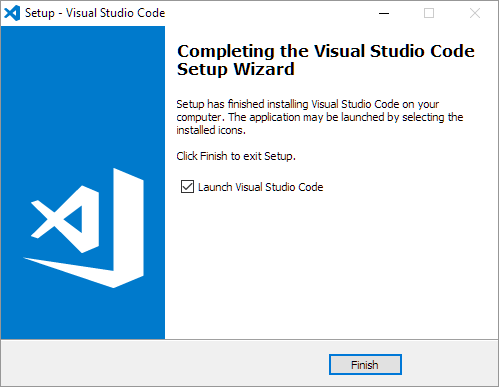
- Check the “Launch Visual Studio Code” checkbox and then click
Next
OS/X
To open code from the osx terminal (command line), we need to add it to path after the install.
-
Drag the Visual Studio Code application to
Applicationsfolder.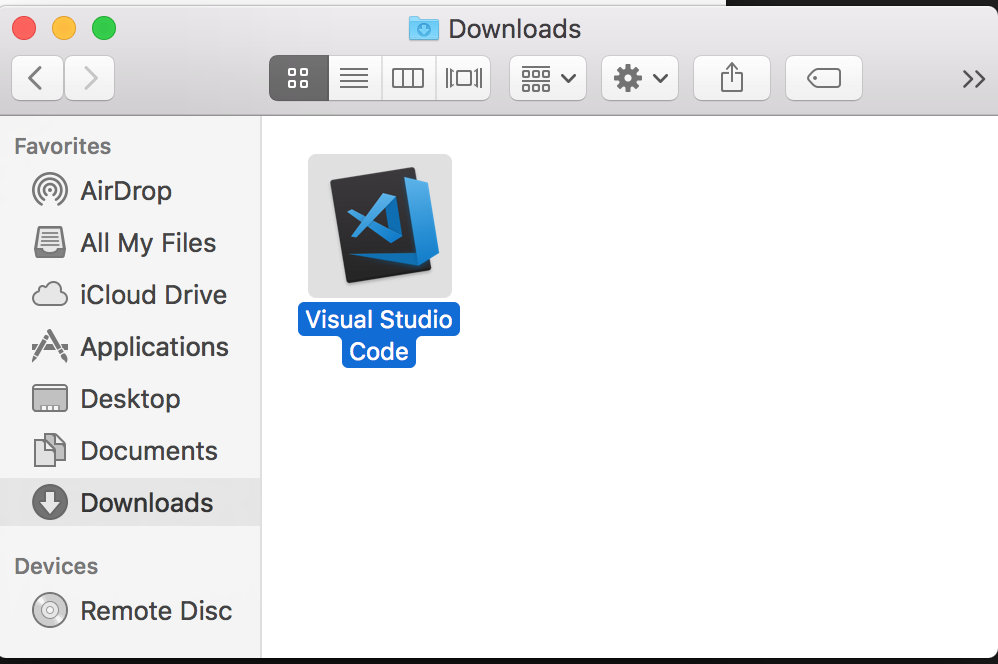
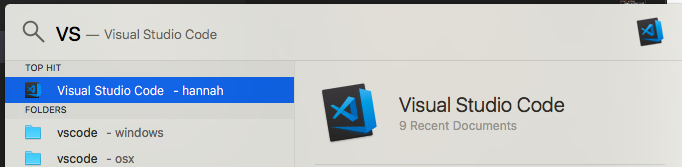
-
Open VSCode via your preferred method. Click on the icon:
- Navigate to the
View->Command Palletmenu and click oncommand
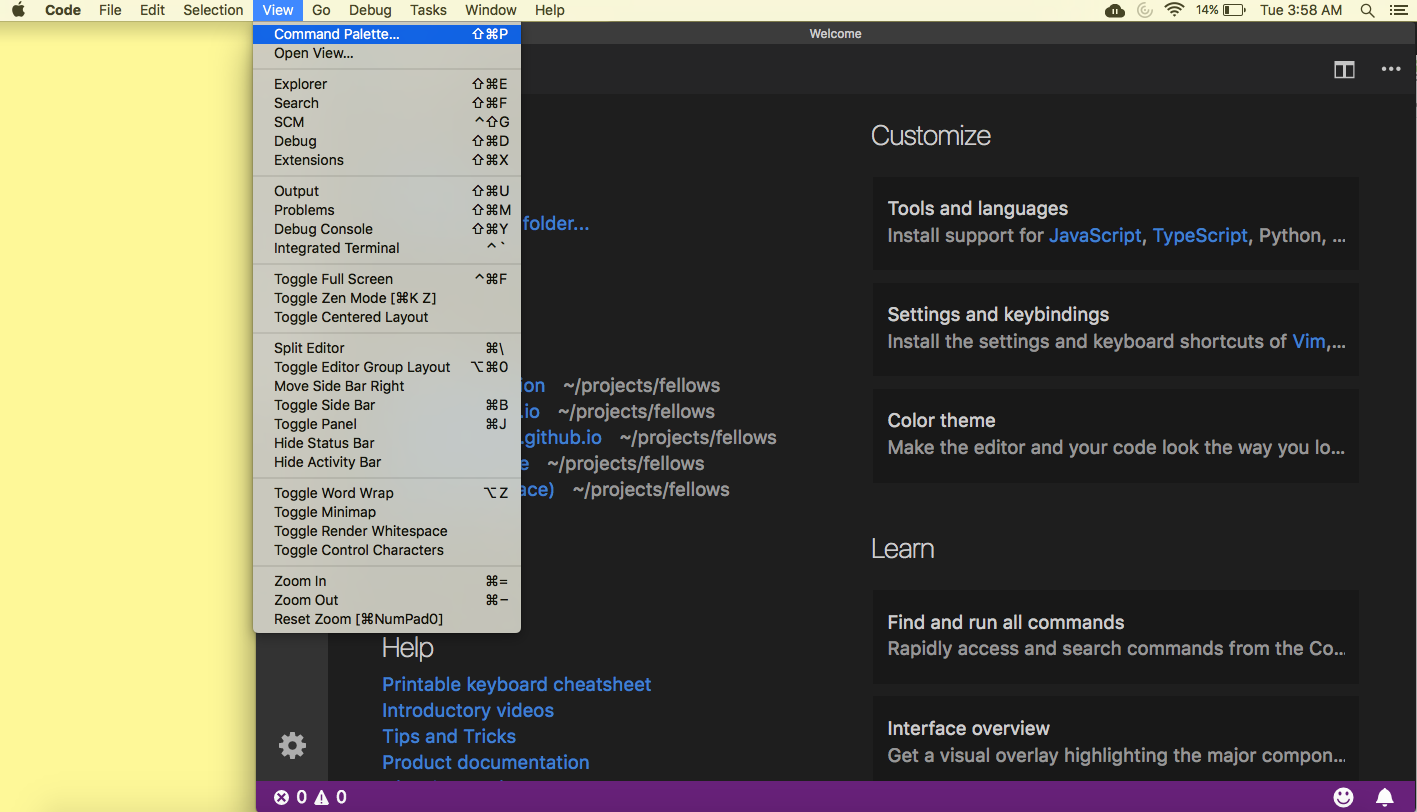
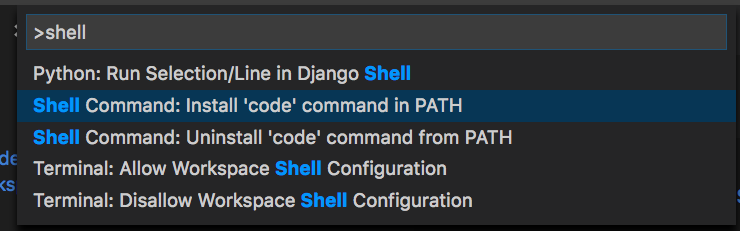
- The
Command Palletmenu looks like this. Typeshellinto the text bar. Then choose “Shell Command: Installcodecommand in PATH”
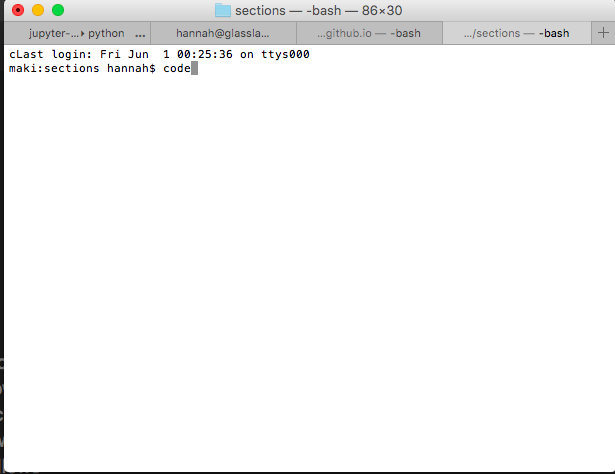
- Once the install is finished, you should be able to open a terminal and type
codeand that should launch VSCode
Test Install
VSCode should now be installed. You should see something like this window when you launch VSCode:
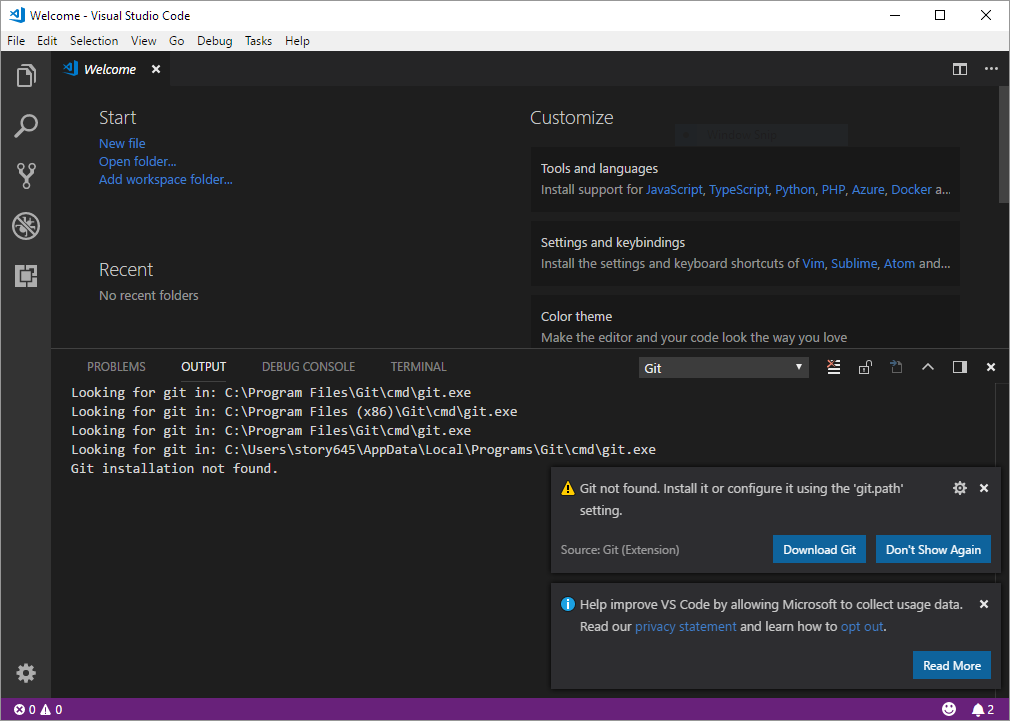
Ignore the warnings about git not being installed.