text-analysis
Session on text analysis with NLTK, including discussion of cleaning data, creating text corpora, and analyzing texts programmatically.
| «< Previous | Next »> |
NLTK Methods with the NLTK Corpus
All of the code for this section is in a Jupyter Notebook in the GitHub repository. I encourage you to follow along by retyping all of the code, but if you get lost, or want another reference, the code is there as well.
To open the notebook, first create a text-analysis folder within your projects folder by entering this command in your terminal:
mkdir -p ~/Desktop/projects/text-analysis
Next, clone the text analysis session repository into your projects folder by entering this command:
git clone https://github.com/dhsouthbend/text-analysis ~/Desktop/projects/text-analysis
Then move to the new directory:
cd ~/Desktop/projects/text-analysis
Now launch the Jupyter Notebook application by typing this into the terminal:
jupyter notebook
If it’s your first time opening the notebook, you may be prompted to enter a URL into your browser. Copy out the URL and paste it into the Firefox or Google Chrome search bar.
Finally, in the Jupyter Notebook file browser, find the notebook file and open it. It should be called TextAnalysis.ipynb. You will use this file for reference in case you get stuck in the next few sections, so keep it open.
Return to the Jupyter Home Tab in your Browser (or Launch the Jupyter Notebook again), and start a New Python3 Notebook using the New button in the upper right corner.
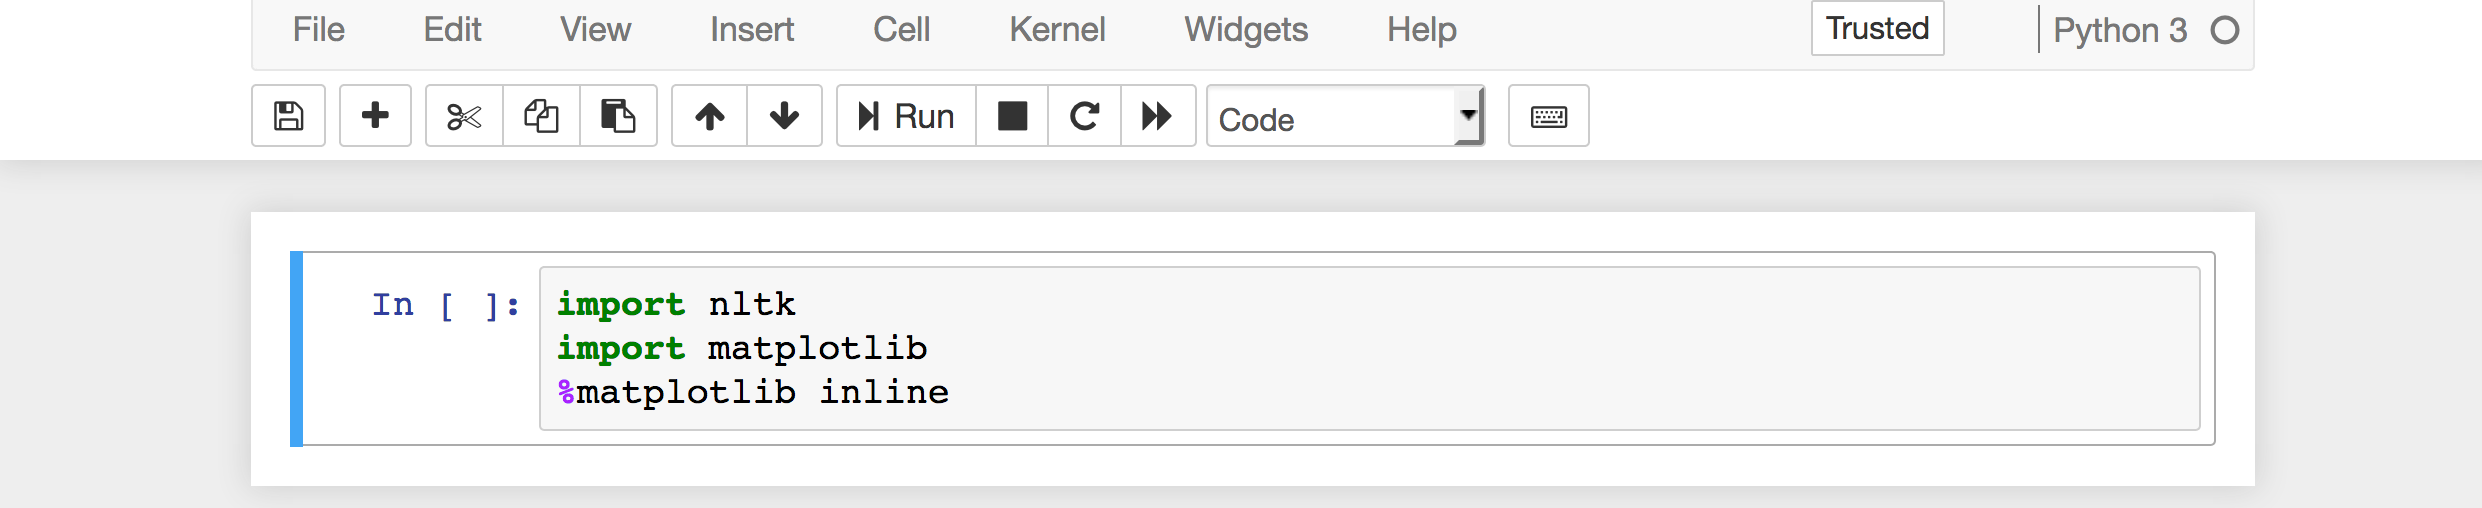
In the first blank cell, type the following to import the NLTK library:
import nltk
Libraries are sets of instructions that Python can use to perform specialized functions. The Natural Language ToolKit (NLTK) is one such library. As the name suggests, its focus is on language processing.
We will also need the matplotlib library later on, so import it now:
import matplotlib
Matplotlib is a library for making graphs. In the middle of this tutorial, we are going to make a dispersion plot of words in our texts.
Finally, because of a quirk of Jupyter notebooks, we need to specify that matplotlib should display its graphs in the notebook (as opposed to in a separate window), so we type this command (this is technically a Jupyter command, not Python):
%matplotlib inline
All three of these commands can be written in the same cell and run all at once (Shift + Enter) or in different cells.
If you don’t see an error when you run the notebook—that is, if nothing happens—you can move on to the next step.
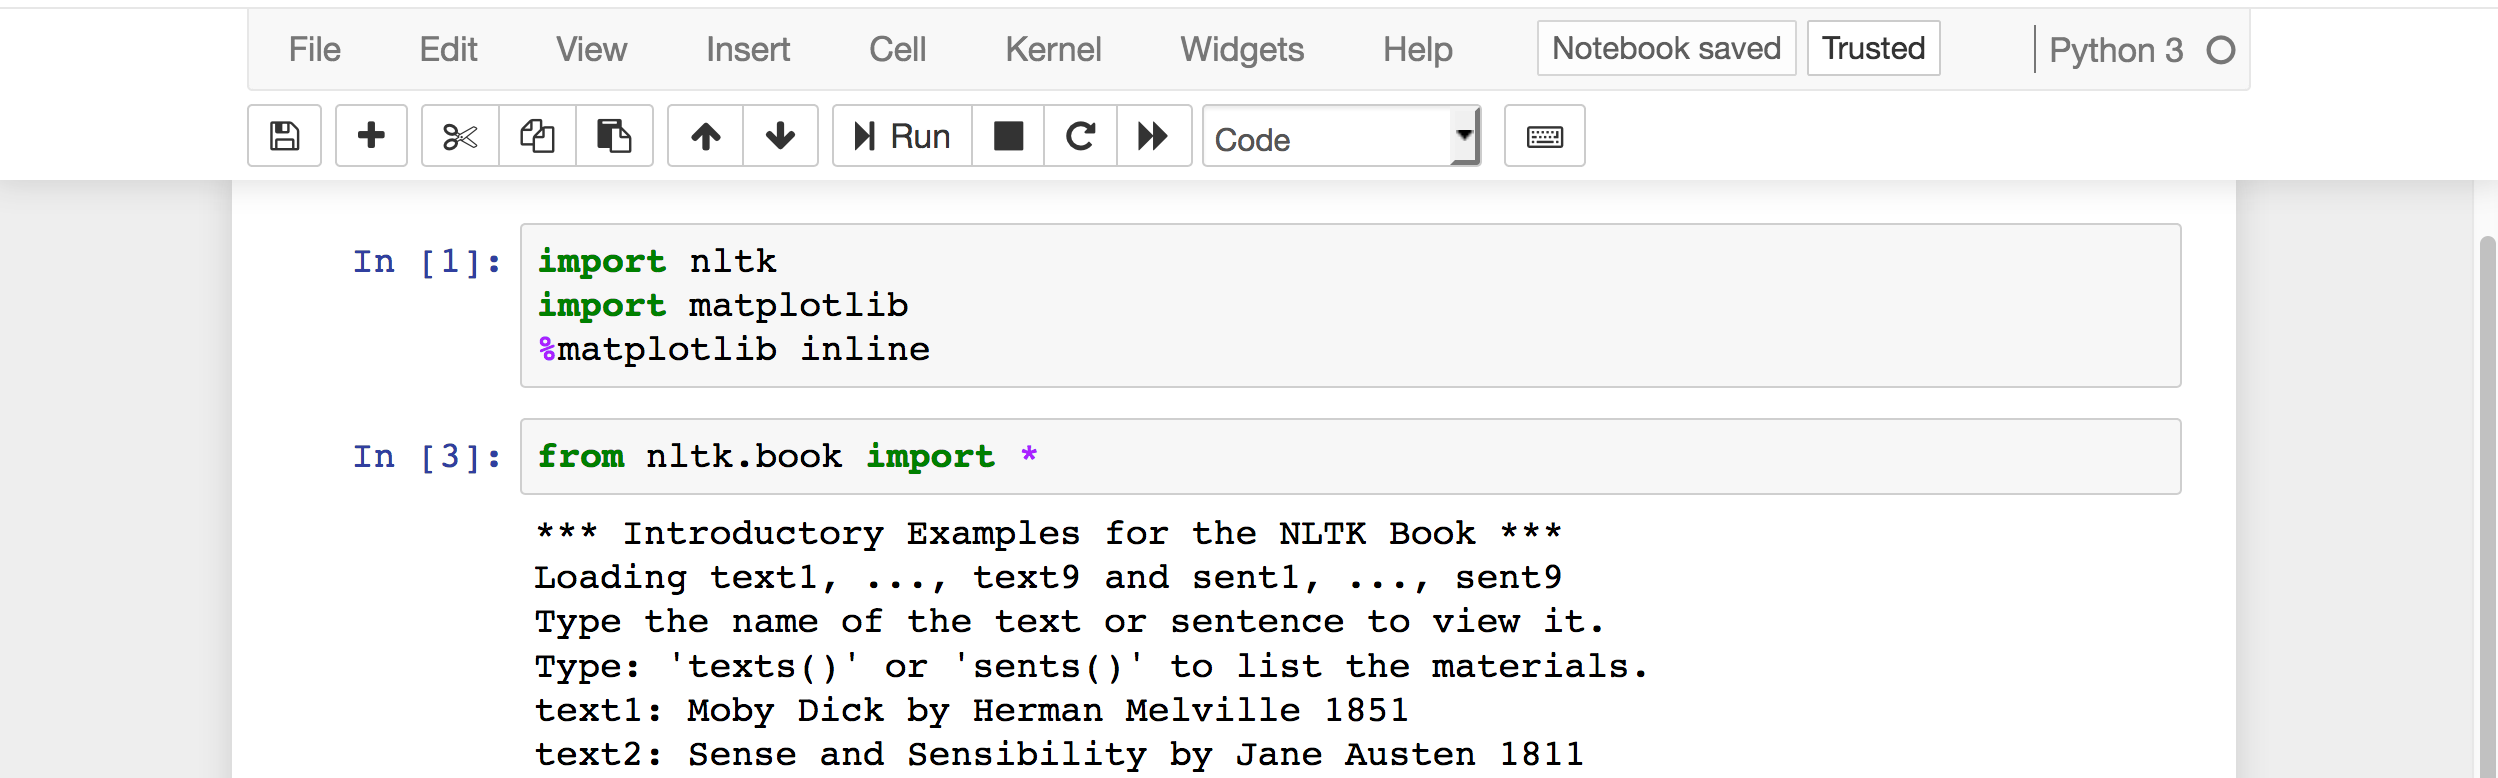
Next, we need to load all of the NLTK corpora into our program. Even though we downloaded them to our computer, we need to tell Python we want to use them.
from nltk.book import *
The pre-loaded NLTK texts should appear again. These are preformatted data sets. We will still have to do some minor processing, but having the data in this format saves us a few steps. At the end of this tutorial, we will make our own corpus. This is a special type of python object specific to NLTK (it isn’t a string, list, or dictionary). Sometimes it will behave like a string, and sometimes like a list of words. How it is behaving is noted for each function as we try it out.
Let’s start by analyzing Moby Dick, which is text1 for NLTK.
| «< Previous | Next »> |